Normal Mapping The Correct Way
On this tutorial I will explain how to make normal maps "the correct way" from height maps for the Source Engine.
What you will need to create a normal map for this tutorial:
- Photoshop's - Nvidia Normal Map Filter
- The knowledge how to make one and what the purpose is from this map.
- Some basic knowledge of Photoshop.
The Diffuse Map
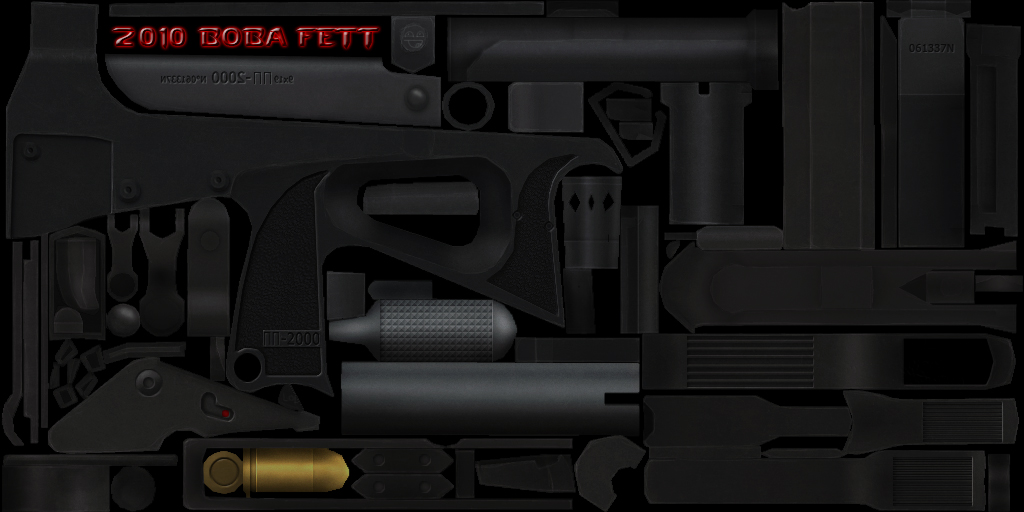
I will use my PP-2000 skin as a example for this tutorial:
The Wrong Way
Now lets see what most artists do and what is actually wrong:
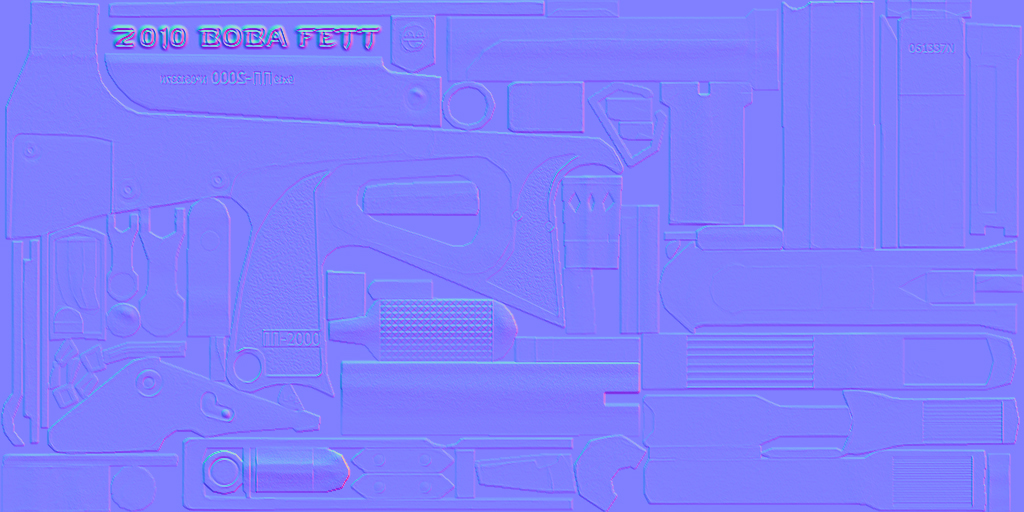
Many take the diffuse and run it trough a normal map filter, like you can see above.
What happens here is that the Filter takes the diffuse White and Black as Height and Depth for the normal map, and as the diffuse map in most cases got static lightning and shadows the result of doing this will end in a wrong effect
If I would use this simple method on my PP-2000, it would look something like this in game:
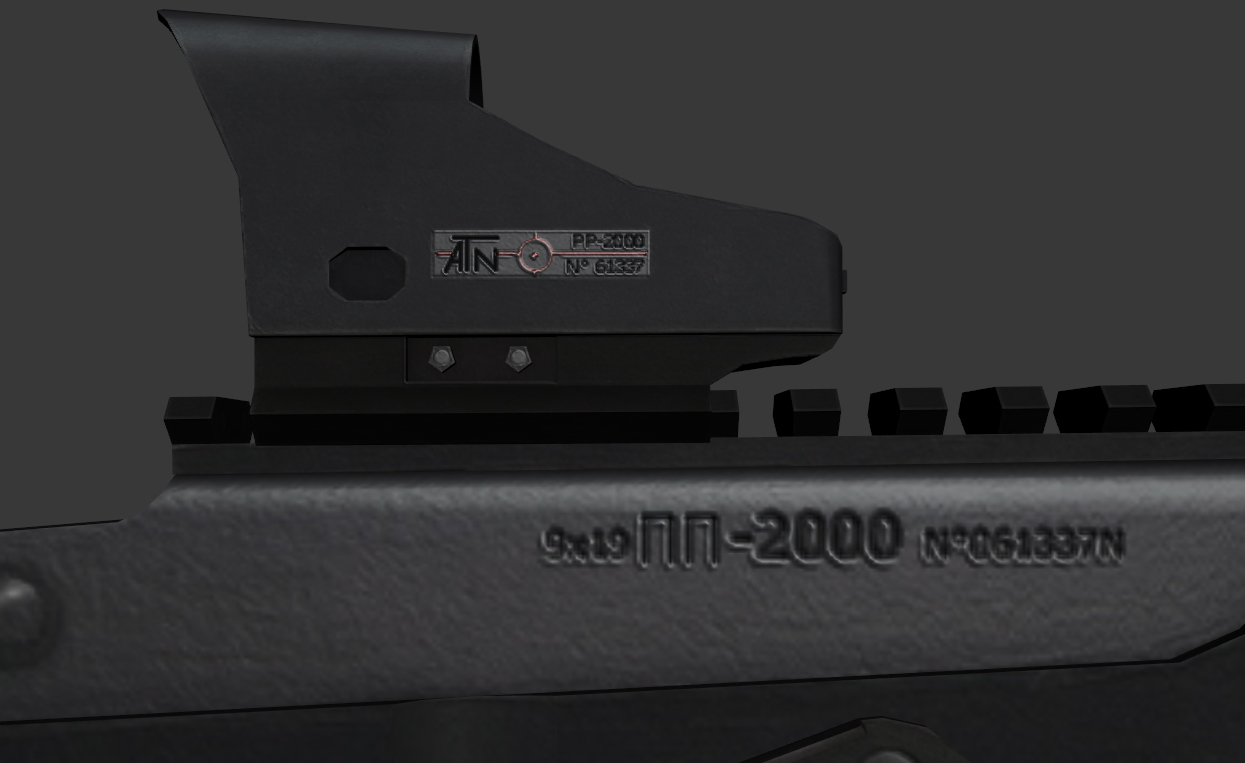
As the normal created here is made from the diffuse the base will look all stone and the things that should be engraved or extruded will have a totally wrong effect.
The Correct Way
To make a proper normal map you first need to make a Height Map (Bump Map). Starting off with the neutral gray "RGB: #505050, than painting the objects you want to be extruded White and those you want engraved Black.
You don't need to start with the gray surface you can also make the bump maps in several layers starting for objects that you want to extrude
Here's a small example of a height map(bump map):
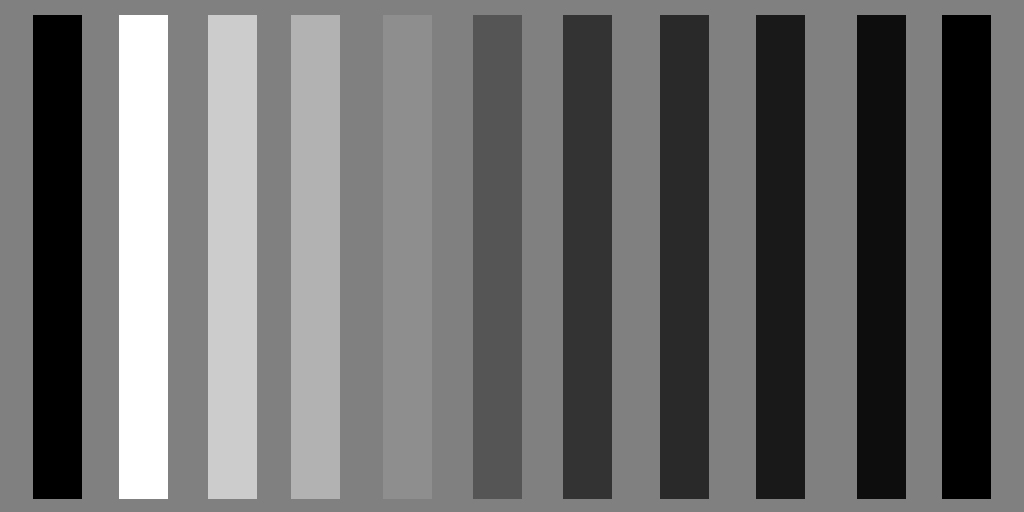
Its made from a gray surface and added black and white stripes. Now if you would convert this to a normal map it should look like this:
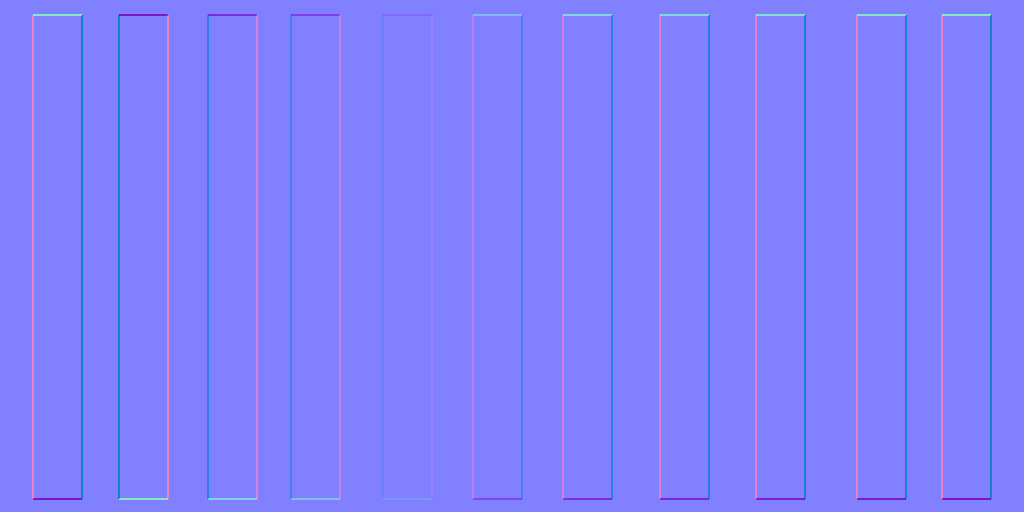
Though because we are working with the Source Engine the green channel or Y-channel should be inverted so it fits the light direction of source:
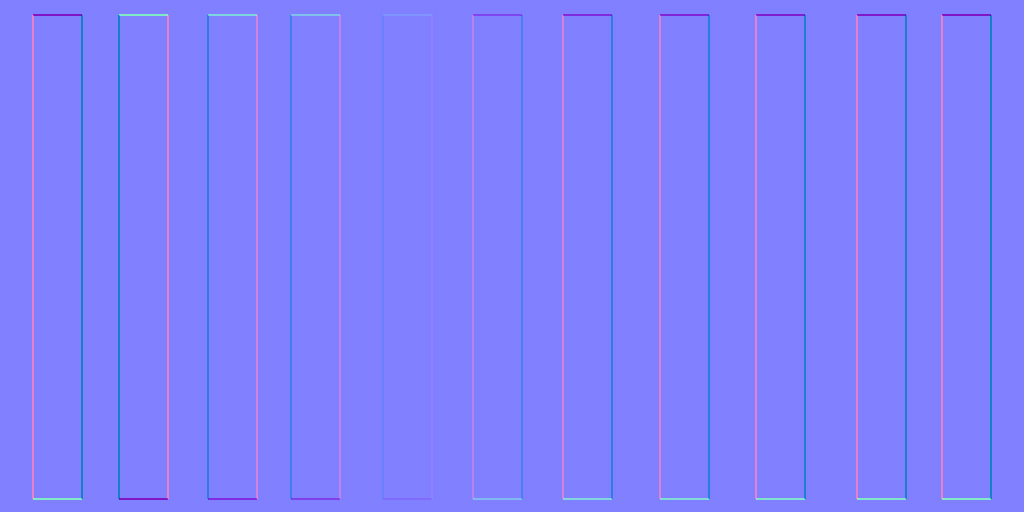
Its not hard to flip the Green-channel or Y-channel. You can do this by going to your channel tab or in the nvidia filter it self:
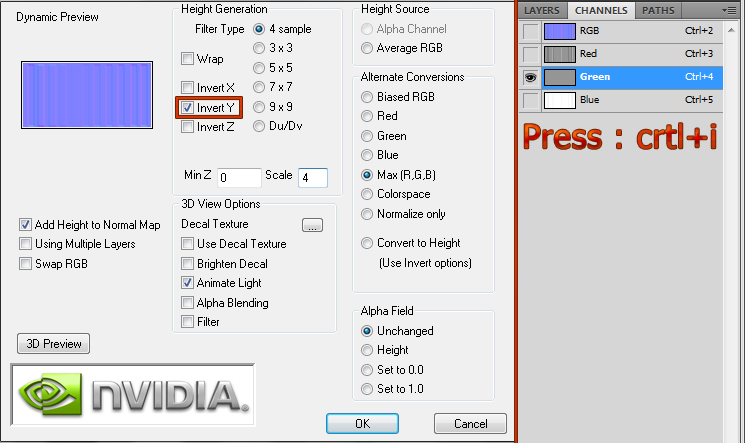
On the left you see the normal map filter, to change it you only need to check invert Y or you could go to your channels tab (In default workspace next to the Layers tab) than select the green channel and press crtl+I (Invert)
If we would render this normal on a plane surface it will look something like this:
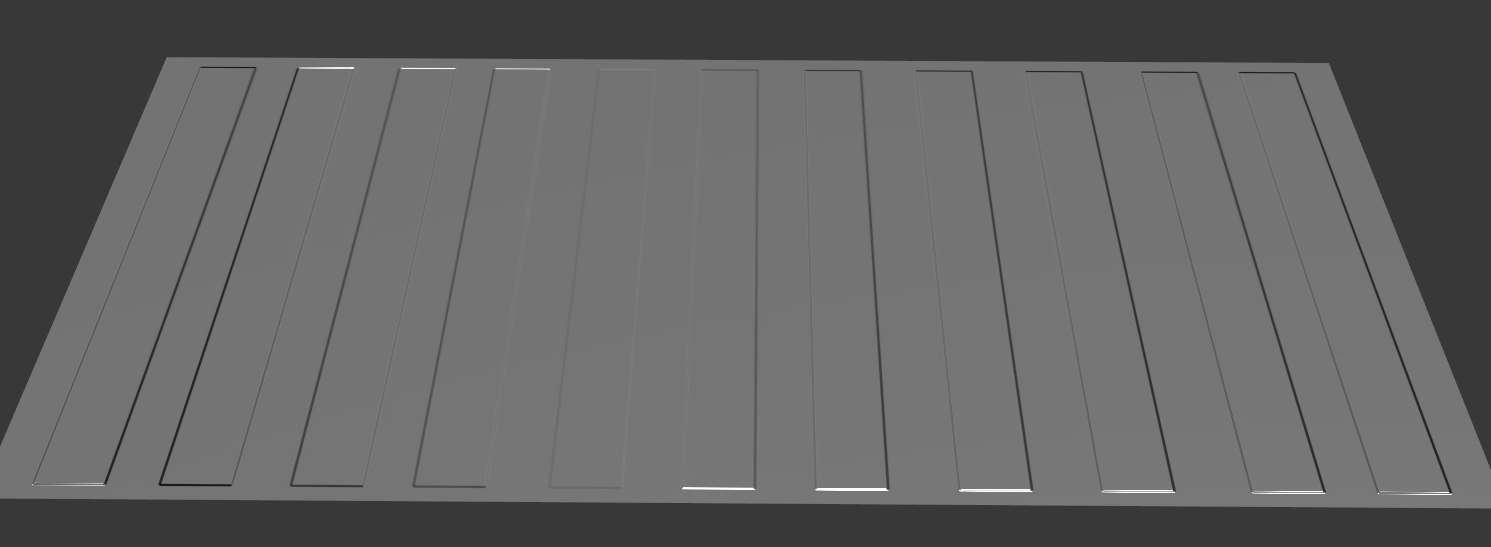
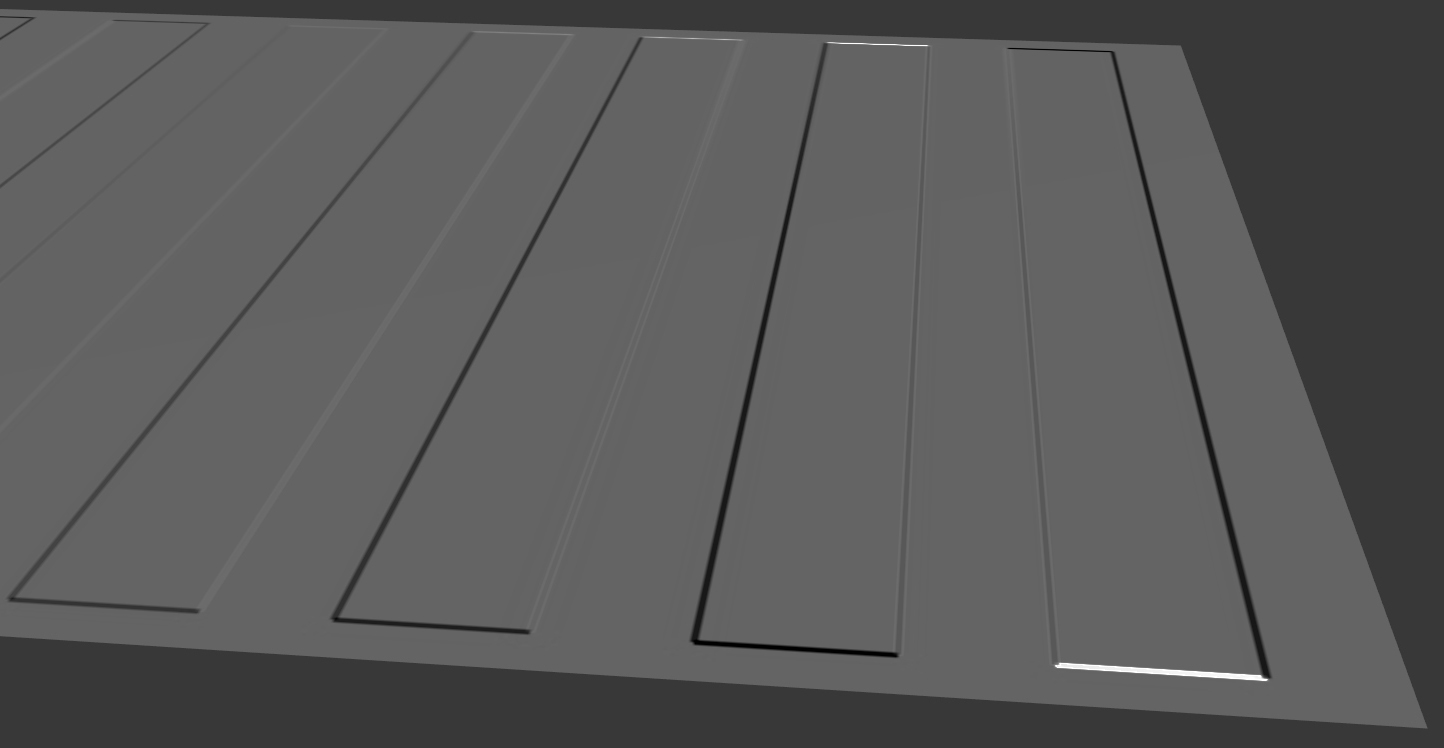
Now if we would make the height map for the PP-2000 it would look something like this:
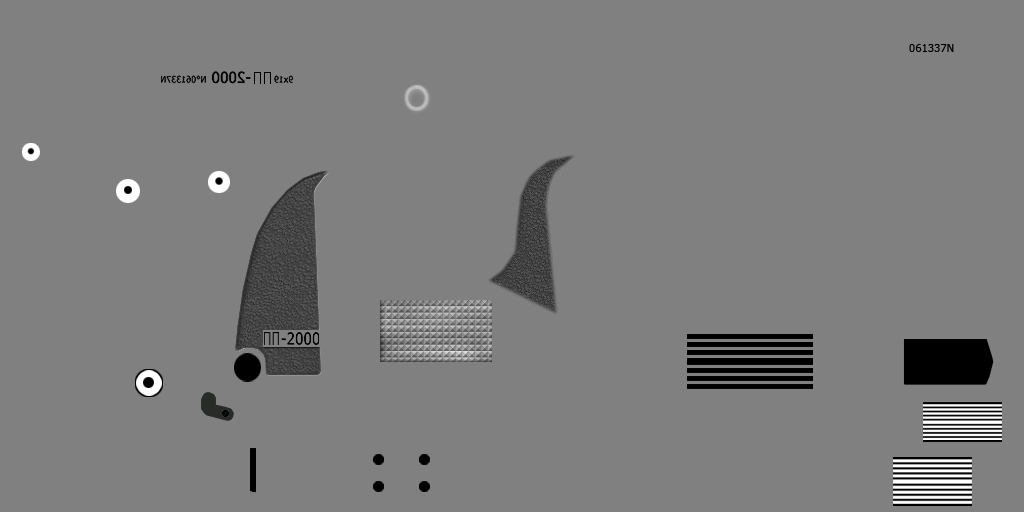
The grip, text and hole's are filled with black, because they need to be bumped down, but like the screws and the front pattern they should come out, so they need to be white. Do note not everything need to be bumped, only the things that aren't modeled like grip, text, patterns, etc...
If we now would run this Height map trough the normal map filter this would be the result:
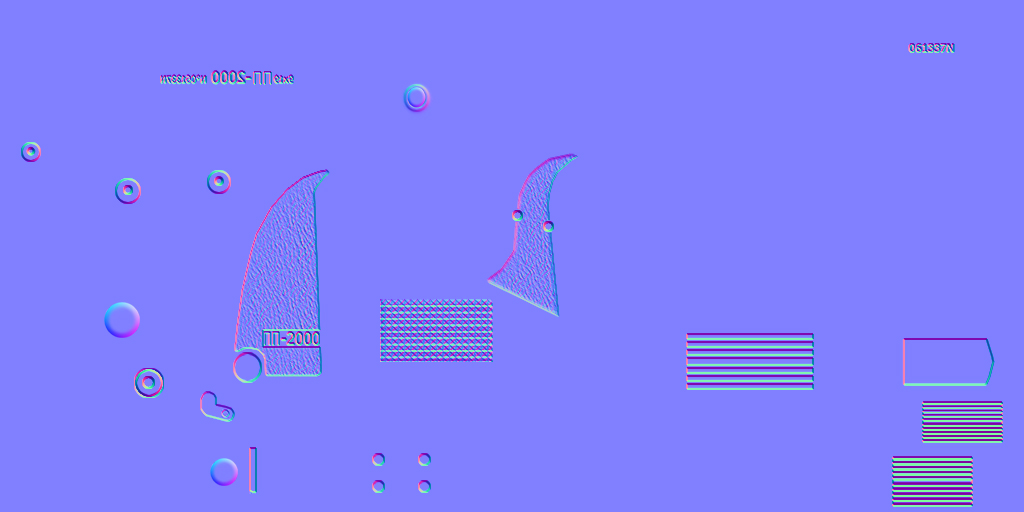
If we now applied this normal map onto the model it would give this effect:
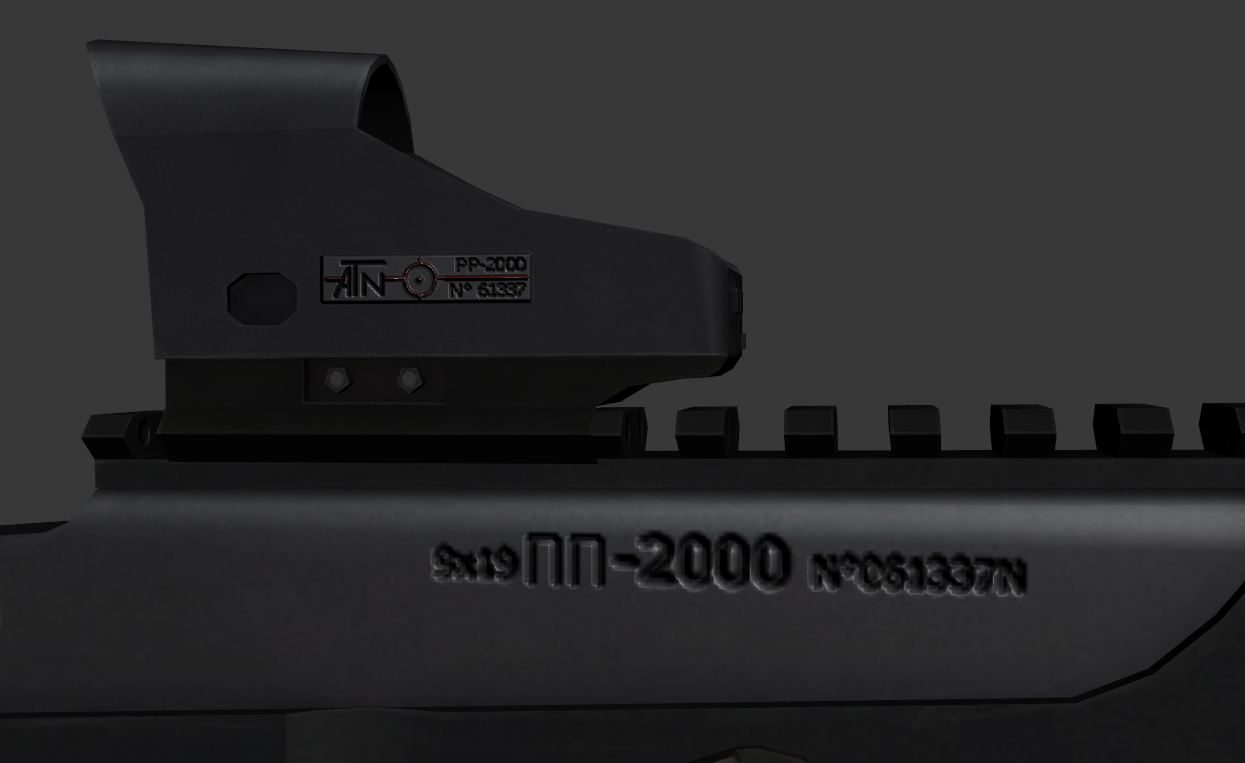
With the right normal map applied the text is right engraved and the metal surface is smooth as it should be.
Final Note's
This was a summarized tutorial how to make a correct normal map from a height map. I hope you learned something with this tutorial and that you will never use diffuse normal mapping again.
But to memorize it a bit better:
